How To Remove and Install Classic Two-Part Tops
This 40-page, extensively illustrated how-to manual walks you through removing and installing a two-part convertible top. Any handy person can remove and install their own convertible top and save hundreds of dollars on labor costs. This manual applies to almost all American convertibles made before the year 2000, and some foreign cars, too, like Celicas and Saabs. Our manuals, available exclusively at Convertible Top Guys, have been helping do-it-yourselfers for years. This spiral bound 8 1/2 x 11 book is designed as both a tutorial for first-time installers and as a step-by-step manual, too. They're the best guides on the market. Buy it on its own here or get it for half-price by purchasing one of our convertible tops or convertible top packages.
TWO PART TOP INSTALLATION SUMMARY

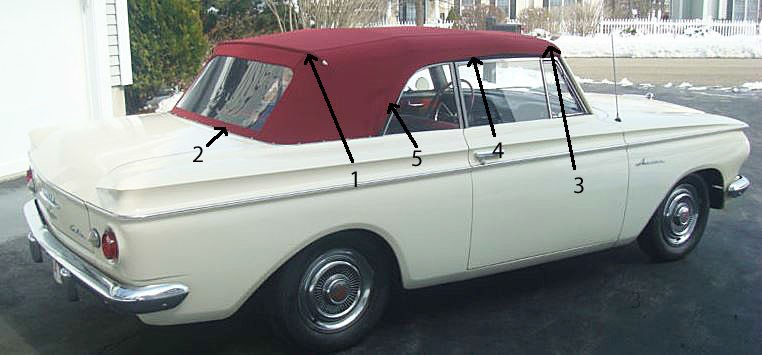
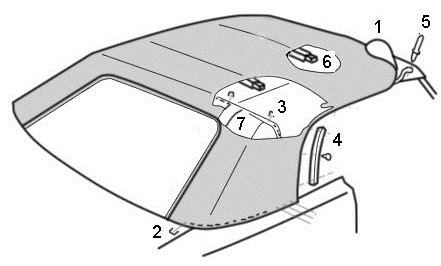
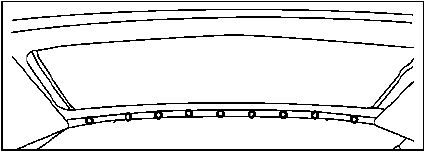
Along the base line of the car there is one to three steel forms bolted to the car. Embedded in these forms are tacking strips that receive staples. Collectively the base line tacking unit or units is referred to as the "trim stick." We cover how the staples are removed, how the trim sticks are marked to align the new top, and how the old top is used to help orient the new top to the trim stick. The coverage is done with many illustrations and photos so everything is clear. The installation of a new top is the reverse of the removal process. This is described with photos and illustrations in the full manual. The installation of the new top begins at the trim stick and ends at the header bow.
Continue Shopping | Back to top
This document is property of M & T Manufacturing. No unauthorized reproductions allowed.